Collapsing Delrin Desklamp
Homemade Illumination Equipment–2015 Edition!
I had the honor of meeting James Olander at this year’s Maker Faire. This piece takes many leaps from V1 of his first laptop stand, dubbed The Roost.

Another Lamp??
Ok, I completely admit that I have a staggering affection for desklamps. Luckily, from a functional standpoint, they’re undergoing some pretty light loads, so the choice of materials doesn’t play a huge role in making a desklamp that doesn’t collapse under its own weight! In that sense, it’s perfectly OK for lamps to come in all shapes and sizes, so they’re a great chance to practice different types of fab techniques. Desklamps are also just practical enough that I can feel justified making them over and over agin–and possibly handing out the previous models to my parents/pals. (“Really, Joshua? The one I had on my desk right now was fine already….”)
Last year’s desklamp was a challenge in parametrically “making things” with just a laser cutter and without the resources of a fully-blown machine shop. Between that desklamp and GameCube-bot V2, I’d call it a success, though there were some growing pains. It turns out that the laser cutter has its own vocabulary of techniques for predictably and repeatedly “making parts.” To that extent, I promise to document my findings in a later post.
As much as I enjoy handicraft, when it comes to “making things,” I’ll kick myself into putting the most creative effort into the novelty of the design, the “easy of repeatability” across duplicates, and the type of interaction that the design has within its intended space. In other words, my hands are pretty-much-crap at finesse and precise fingerwork, so I need to rely on machines to get the tricky parts done, and, hopefully, these darned widgets–which I now have 10 of–actually do something useful so that I can (get them off my desk) give them out to people without any raised eyebrows.
The Design
Since I constantly seem to be moving, I wanted something collapseable enough to stuff somewhere into the back of my car for transit.
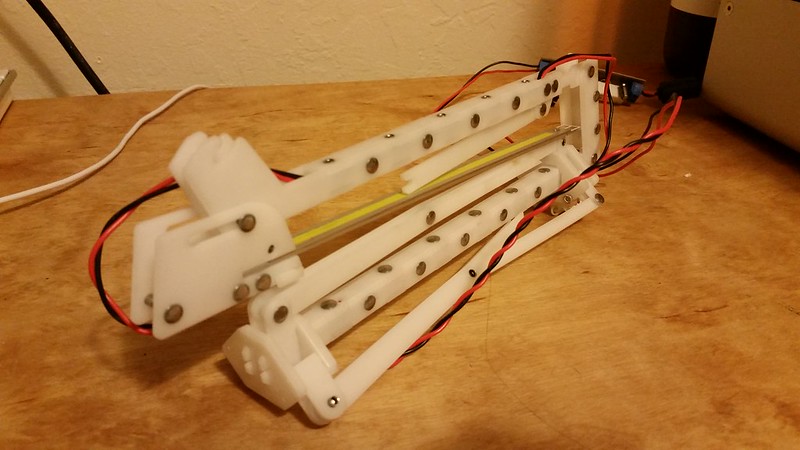
This piece was a strange exercise in finding “stable” configurations of the joints in their final form.
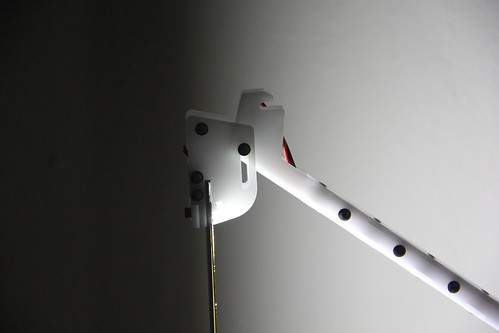
For the upper section I combined a prismatic and sliding joint so that I could rotate out the LED and then slide it out to lock. The square tubing also resists torsional bending well enough such that the lamp doesn’t continuously sway back and forth when it gets jostled by studious foreheads and elbows.
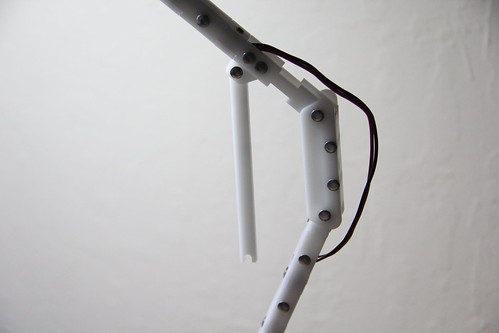
The center two joints of the lamp would form a four-bar linkage without additional modifications. Four-bar linkages are pretty common when people design cranks and rockers where some of the joints will rotate freely. I wanted to the arm joints to remain fixed, so I put extra material into the center piece to act as a “hard-stop” such that the four-bar linkage would remain rigid once the free bar was slotted into place.

For the sliding joint, I did some quick back-of-the-envelope checks with a Solidworks reference sketch to make sure that the sliding clip would freely slide down (to deploy the legs) and up (to retract them). The sliding clip and legs each form a truss-like triangle. To get the sliding clip to fully retract from the open configuration, the sum of the lengths of the joint-to-joint leg distance and the leg supports needed to be equal to the same value. a1 + b1 = a2 + b2 (See image above.)
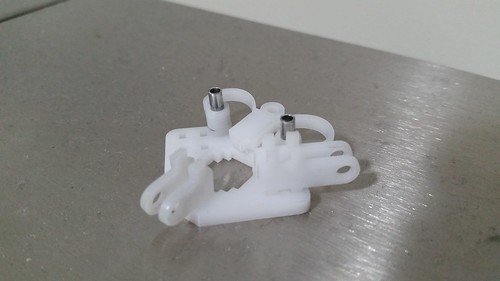
The sliding clip that actually locks the legs in place hails from the design of [James Olander’s] Roost. In a nutshell, the pull-tab that releases the legs is springloaded, where the spring is directly embedded into the Delrin. The partly-exposed version above exposes the spring. All-in-all, this part needs a little work as the tab doesn’t completely line up with the slot.
Field Testing
Out on the desk, the lamp fares quite well! The wires tuck neatly into the square tubing, but I had to live with having them sticking out at the bends. (I borrowed the circuit from last year’s lamp to get this one up-and-running).